Apple butter is a delightful spread that captures the essence of ripe apples and the warmth of fall. It's a versatile condiment that can be used on toast, biscuits, pancakes, or as a flavor enhancer in various recipes. If you’re feeling extra spicy, you can even enjoy it by the spoonful—that may be a guilty pleasure of mine!
Making apple butter at home is a rewarding and straightforward process that allows you to savor the season's flavors year-round. I’m grateful to have a few apple trees here on the homestead. They didn’t fruit the first season I was here, but I was blessed beyond belief with apples this past season! I had to figure out what to do with all of them, and quick! Apple butter definitely won as one of my favorite apple preservations! In this blog, I will walk you through the steps to create your very own homemade apple butter.
What is apple butter?
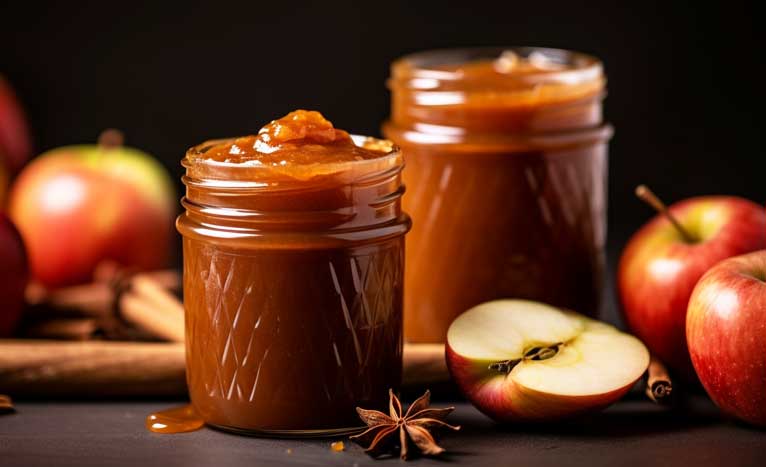
Apple butter is a concentrated, spiced apple spread. It's made by slow-cooking apples with sugar and spices until the mixture thickens and caramelizes. What makes or breaks apple butter is the spices. I adore the fact that apple pairs well with a variety of spices already in your spice cabinet like ginger, all-spice, nutmeg, clove, and cinnamon.

Is apple butter the same as applesauce?
No, they are different. Applesauce is a simpler, pureed form of cooked apples, while apple butter is thicker, richer, and often spiced. I spice my apple sauce as well, but it isn’t as thick as apple butter.
What type of apples are best for apple butter?
A mix of sweet and tart apples, such as Granny Smith and Fuji, works well. The combination adds depth of flavor. Whatever apples you have will work, so don’t feel the need to rush to the store to get any.
How long does it take to make apple butter?
It takes approximately 10 hours in a slow cooker or 4-5 hours on the stovetop to make apple butter. It is a bit more time intensive than applesauce, but I promise it is worth the time investment.
Can I adjust the sweetness of apple butter?
Yes, you can adjust the sugar to your taste. Start with less and add more if needed during cooking. I absolutely love sugar on my homestead, so I’m not ashamed to sweeten it up to my preference.
What spices are commonly used in apple butter?
Ground cinnamon, ground cloves, and ground nutmeg are common spices used in apple butter. You can adjust the spices to your preference. Start by adding little amounts of the spices and working up to your preferred spice level and taste.
Do I have to use a slow cooker?
No, you can make apple butter on the stovetop in a large pot. Slow cookers are convenient, but stovetop cooking works too. I have used both methods, and they both work great! Slow cookers are less hands-on, but either works.
Can I can apple butter for long-term storage?
Yes, properly sealed and processed apple butter can be stored in a cool, dark place for several months. Keep on your pantry shelf and pull out whenever you need an apple-spiced taste.
What can I use apple butter for?
Apple butter can be used as a spread on toast, biscuits, or bagels. It can also be used as a condiment for meats, in baking, or as a flavor enhancer in various dishes.
Can I freeze apple butter?
Yes, you can freeze apple butter for longer storage. Use airtight containers or freezer bags and leave some space for expansion. If you don’t feel like canning apple butter, freezing is a great alternative. Keep in mind, if the power goes out, the food in your freezer will go bad, so have a plan to use it!

Unlock the secret to organized and beautiful canning with my Printable Labels Bundle! With my bundle, you'll have access to a wide variety of customizable labels suitable for all your canning projects. From vibrant fruit jam labels to elegant pickle jar tags, I've got you covered. Purchase our Printable Labels Bundle today and transform your canning game!
Making homemade apple butter is a rewarding endeavor that allows you to savor the flavors of fall year-round. Whether you spread it on toast, use it as a condiment, or incorporate it into your favorite recipes, this apple butter is a delicious and versatile addition to your pantry. Enjoy the rich and comforting taste of homemade apple butter anytime you like!
Apple Butter
Equipment
- Canning Funnel
- Ladle
Ingredients
- Apples (around 5-6 pounds)
- 2-3 cups Sugar
- 1-2 tsp Cinnamon (to taste)
- 2-3 tbsp Lemon Juice
- 1/4-1/2 tsp Ground Cloves (to taste)
- 1/2 cup Water
Instructions
- Wash, peel, and core the apples. Cutthem into small chunks or slices. You can use a variety of appletypes for a more complex flavor.
- If using a slow cooker, set it to low heat and let the apples simmer for about 10 hours. Stir occasionally, and leave the lid slightly ajar to allow steam to escape.If using a pot, simmer the apples over low heat, stirring frequently, for approximately 4-5 hours or until the apples have turned into a thick, dark, and caramelized mixture.
- Use a potato masher or an immersion blender to mash the apples until the mixture is smooth and free of lumps. Adjust the sweetness and spices to your taste.
- Toward the end of the apple butter cooking time, sterilize your canning jars and lids. You can do this by placing the jars in a large pot of boiling water for 10 minutes. Submerge the lids in simmering water, not boiling, to prevent damage.
- Using a canning funnel, carefully fill the sterilized jars with the hot apple butter, leaving about 1/4-inch headspace at the top.
- Slide a clean knife or a bubble remover tool around the inside of the jars to release any trapped air bubbles.
- Wipe the rims of the jars with a clean, damp cloth or paper towel to ensure a good seal.
- Place the sterilized lids on the jars and secure them with the rings. Make sure not to overtighten.
- Place the filled and sealed jars into a water bath canner or a large stockpot filled with boiling water. Ensure the jars are fully submerged, with at least 1-2 inches of water above the lids.
- Bring the water back to a gentle boil and process the jars for about 10-15 minutes. Adjust the processing time for your altitude if necessary (check for local guidelines).
- Carefully remove the jars from the canner using a jar lifter. Place them on a clean towel or a cooling rack, leaving space between the jars to cool.
- After the jars have cooled (usually overnight), check the seals by pressing down on the lids. If they don't flex and make a popping sound, the jars are sealed. If a jar didn't seal, refrigerate and consume its contents within a few weeks.