Yogurt is a delicious and nutritious dairy product that can easily be made at home with just a few simple ingredients. Not only is homemade yogurt cost-effective, but it also allows you to control the quality and flavor of your yogurt. In this blog, I will walk you through the step-by-step process of making creamy and delightful homemade yogurt.
I love to post about the things I no longer buy from the grocery store anymore and yogurt is one of them! Yogurt is seriously so easy to make and I save so much money by not buying it from the store. The goal of my homestead is to become as self-sufficient as possible and not relying on the grocery store for a majority of my foods helps me do that! I want to encourage everyone to become self-sufficient and something as simple as learning to make yogurt from scratch can help you do that.
Yogurt is an Amazing source of probiotics
Homemade yogurt is not only a tasty treat but also a great source of probiotics and nutrients that benefit your digestive and immune systems. By making yogurt at home, you can avoid additives and preservatives often found in store-bought versions.
Seriously, read the ingredients on the common yogurts at the grocery stores. You will find the yogurts are bogged down with added sugars and other words that you can’t pronounce. Why is a beautiful nature-made food polluted with preservatives and bloated with sugars? Cut this toxic goop and make yogurt yourself!
Ingredients You'll Need
- 4 cups of whole milk (you can also use 2% milk for lighter yogurt)
- 2 tablespoons of plain yogurt with live active cultures (as a starter) – This will be your favorite yogurt from the store. I love to use plain, organic yogurts for my start that are loaded with bacteria. Minimally pasteurized is also a plus!
Equipment Required
- Medium-sized saucepan
- Cooking thermometer
- Whisk
- Clean kitchen towels or paper towels
- Insulated cooler or yogurt maker
- Airtight containers for storing yogurt
Step-by-Step Guide to Making Homemade Yogurt

Heating the Milk
- Pour the milk into the saucepan and place it on the stove over medium heat.
- Use a cooking thermometer to monitor the temperature. Heat the milk to around 180°F (82°C), stirring occasionally to prevent scorching.
Cooling the Milk
- Once the milk reaches the desired temperature, remove the saucepan from heat.
- Allow the milk to cool down to about 110°F (43°C). This temperature is crucial, as it provides the ideal environment for the yogurt cultures to thrive.
Adding the Yogurt Starter
- In a small bowl, mix the 2 tablespoons of plain yogurt with a few tablespoons of the cooled milk to create a smooth mixture.
- Gently whisk the yogurt mixture into the remaining cooled milk in the saucepan.
Incubating the Yogurt
- Pour the milk and yogurt mixture into the airtight container(s).
- Place the container(s) in an insulated cooler or yogurt maker to maintain a consistent temperature. Alternatively, you can wrap the container(s) in clean kitchen towels and place them in a warm spot in your kitchen.
- Let the yogurt incubate for 6 to 12 hours. The longer the incubation, the tangier the yogurt will become.
Refrigerating the Yogurt
- Once the yogurt has reached your desired level of tanginess, remove it from the incubator.
- Refrigerate the yogurt for at least 2 hours before consuming. This helps the yogurt set further and develop its creamy texture.
Tips for Perfect Homemade Yogurt
- Use a reliable thermometer to ensure accurate temperature control.
- Avoid disturbing the yogurt during the incubation period to achieve a smooth texture.
- Save a couple of tablespoons of your homemade yogurt to use as a starter for your next batch.
Flavoring and Serving Your Yogurt
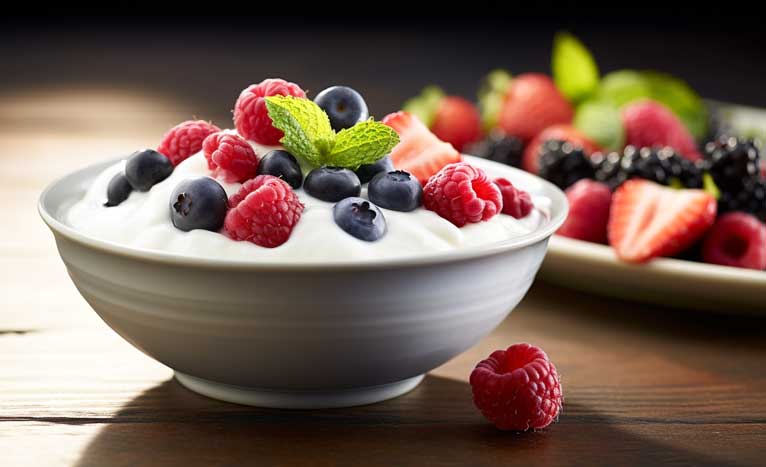
You can enjoy your homemade yogurt as is, or you can enhance the flavor by adding honey, fruit preserves, fresh fruits, granola, or nuts.
What I love so much about making homemade yogurt is it is the gift that keeps on giving! By saving a few tablespoons from each batch, you continue on your yogurt start and it becomes your own kind of yogurt filled with probiotics and beneficial local-to-you bacteria!
Troubleshooting Common Issues
Runny Yogurt: If your yogurt turns out runny, try incubating it for a longer period next time.
Yogurt Won't Set: Inconsistent temperatures during incubation could prevent yogurt from setting properly.
Making homemade yogurt is a rewarding and relatively simple process that requires a bit of patience and attention to detail. The result is a creamy, delicious, and nutritious yogurt that you can enjoy as a snack, breakfast, or even use in cooking and baking.
FAQs
Can I use skim milk to make yogurt?
Yes, but using whole milk will generally yield creamier yogurt.
Can I use store-bought yogurt as a starter?
Yes, as long as it contains live active cultures and no added flavors or thickeners.
How long will homemade yogurt last in the refrigerator?
Homemade yogurt can typically be stored in the refrigerator for up to 2 weeks.
Can I use a yogurt maker to incubate the yogurt?
Yes, a yogurt maker provides consistent temperatures for incubation.
Why did my yogurt turn out sour?
The tanginess of yogurt increases with longer incubation times. Adjust the incubation period to achieve your preferred level of tanginess.