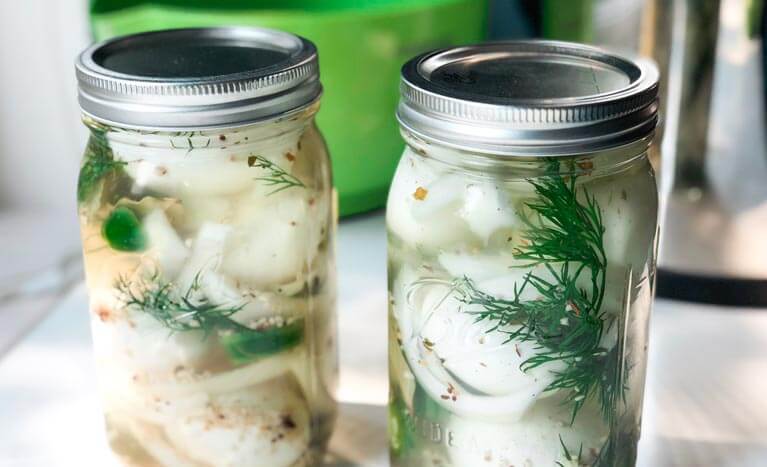
I am addicted to my Kansas award-winning pickled eggs!
For all the pickled-egg-lovers out there, I have worked on a spicy recipe that will blow your mind (if you like spiciness, of course.) I think this spicy pickled egg recipe is perfect, and it’s incredibly easy to make. It makes the tastiest spicy dill pickled eggs—and the finished jars are beautiful to look at. I found myself standing in the kitchen, admiring them! Head to your local farm, grocery store, or refrigerator, and let’s make the greatest spicy pickled eggs ever!

Get My 3 Favorite Pickled Egg Recipes FREE!
Step one: Hard boil your eggs
You need 18 eggs. I fit 8-9 eggs in each quart-sized jar. The best method I have found for hard boiling eggs is to give them a hot start to make peeling them easier. Peeling is the most tedious step of pickling eggs, so make it simple!
Bring a saucepan of water to a boil, allowing 1 inch of headspace for your eggs. Slowly lower in your eggs using a spoon or wire basket to limit splashing. Lower the heat to a gentle simmer and cover for 15 minutes. Remove the eggs from the water and place into an ice bath for 5 minutes. The bath will cool down the eggs making them easy to peel! They will be cool to the touch. Lightly tap them on the counter on all sides; then begin to peel. The peel should slide right off! Set aside the peeled eggs.
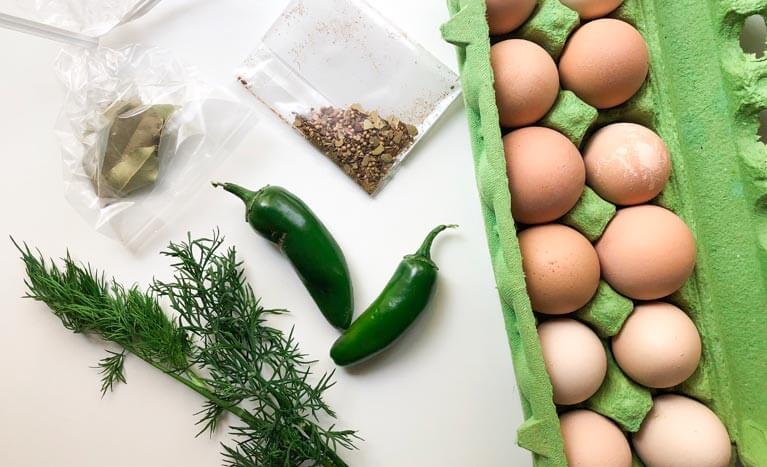
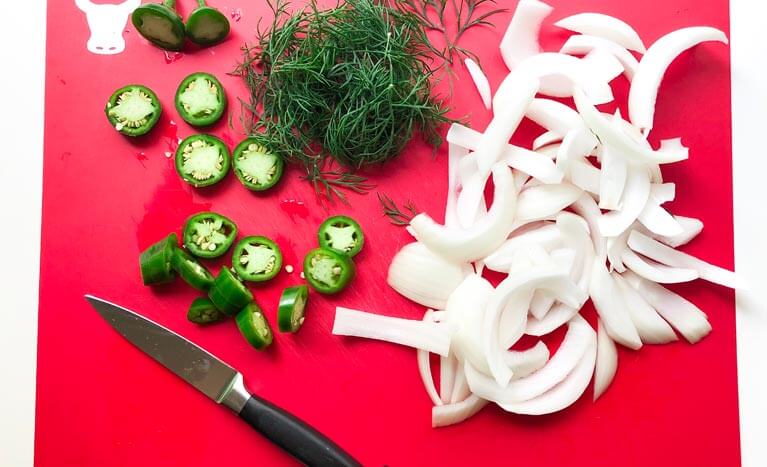
Step two: Prepare your brine
3 cups white vinegar
1 1/2 cups water
1 tablespoon sugar
2 tablespoons sea salt
2 tablespoons pickling spice, preferably spicy pickling spice
2 jalapeños, sliced
4-5 cloves garlic, minced
6-8 sprigs fresh dill
4 bay leaves (2 bay leaves per quart jar of pickled eggs)
1/2 white onion, sliced
In a large saucepan, combine the vinegar, water, sugar, and salt. Heat on medium high while stirring until the salt and sugar dissolve. Remove from heat and allow to completely cool.
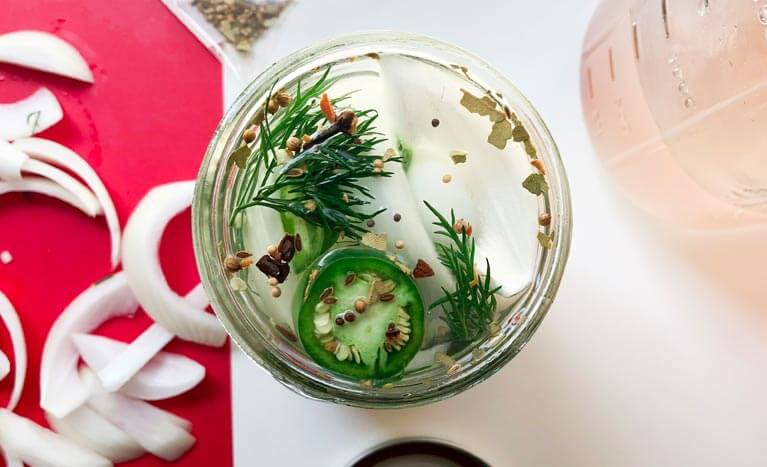
Step three: Combine the eggs, brine, and other ingredients
In this step, you will layer the eggs and ingredients into 2 quart-sized Mason jars. Begin by placing 3 eggs in one jar; add some garlic, jalapeños, onion, dill, pickling spice, and a bay leaf. Layer 3 more eggs on top and continue this process until the jar is full. Pour the brine in, filling the jar as close to the top as possible, and put the lid on. Repeat this process with the remaining eggs in the other quart-sized Mason jar.
When finished, place the eggs in the fridge for 1-2 weeks. It’s difficult not eat one, but the longer you wait the more time the flavors have to soak in—YUM!
Note: Do not consume the bay leaves.

Spicy Pickled Eggs
Ingredients
- 3 cups white vinegar
- 1 1/2 cups water
- 1 tbsp sugar
- 2 tbsp sea salt
- 2 tbsp pickling spice, preferably spicy pickling spice
- 2 jalapenos,sliced
- 4-5 cloves garlic, minced
- 6-8 sprigs fresh dill
- 4 bay leaves (2 bay leaves per quart jar of pickled eggs)
- 1/2 white onion sliced
Instructions
- Layer the eggs and ingredients into 2 quart-sized Mason jars. Begin by placing 3 eggs in one jar; add some garlic, jalapeños, onion, dill, pickling spice, and a bay leaf. Layer 3 more eggs on top and continue this process until the jar is full.
- Pour the brine in, filling the jar as close to the top as possible, and put the lid on. Repeat this process with the remaining eggs in the other quart-sized Mason jar.
- When finished, place the eggs in the fridge for 1-2 weeks. It’s difficult not eat one, but the longer you wait the more time the flavors have to soak in—YUM!

