Welcome to Gubba’s Homestead! Spring is in the air, plants are blossoming, and bees are a-buzzin! All of these earthly works mean it’s time to get planting!
You don’t need a large space for a garden—you can make any space work for you! Many great resources will teach you how to utilize your particular space: from a city apartment to an expansive ranch, you can customize a garden to fill up your life (and pantry!)
This year I ventured out of my safety zone to plant strawberries!
Strawberries are low maintenance if you manage their runners. Like mint, they spread their wings and branch everywhere. Plant a couple strawberry plants, ignore them, and you’ll get a strawberry jungle. That’s okay if you want a big basket of strawberries, but they can interfere with other plants. I am currently combating a mint forest in my backyard, established by the previous homeowners. Yes, mint is tasty and healthy, but wow, does it love to expand! It regrows every year, and the patch gets larger and larger lol. At this rate, my entire backyard will soon become a mint patch! For this reason, I’m being careful with these strawberry plants.

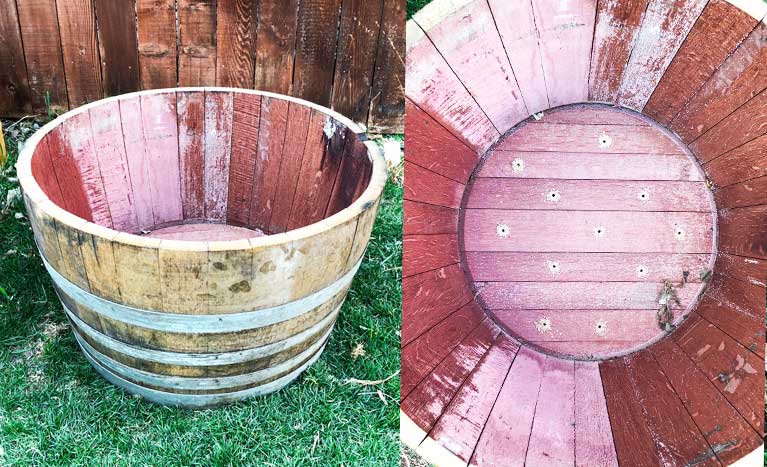
I even built my own raised garden planter and I have tremendous garden plans for it! I didn’t establish my strawberry plants in the raised bed, though. I planted them in a whiskey barrel planter, so they are isolated and I can control their expansion. I drilled holes in the bottom of the barrel, so the water will drain out. If you don’t drill holes, you may end up with a gooey wet mess for a garden!

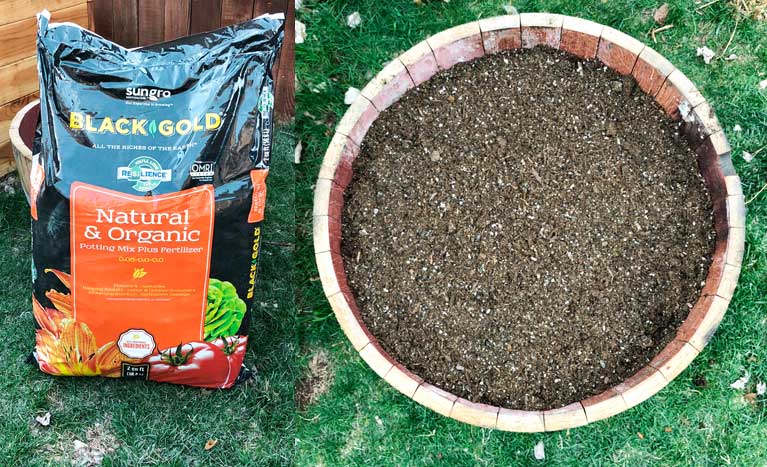
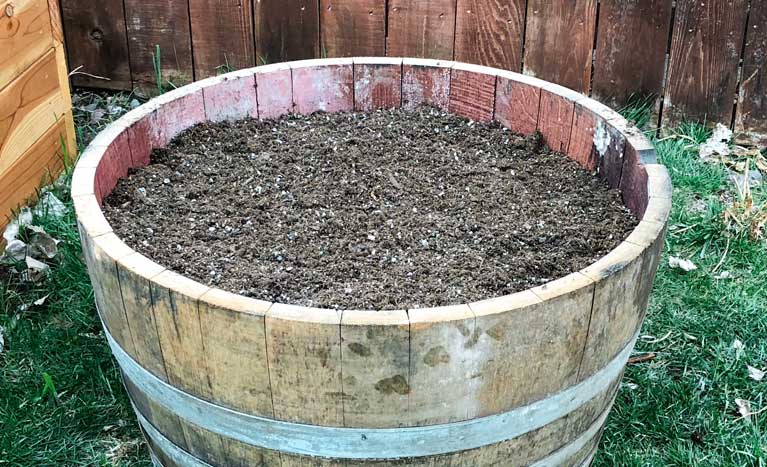
I also used natural, organic potting soil for my cute strawberry garden because I don’t want to consume poison—I want all fresh baby! I’d love to compost my own soil, and I plan to do that soon, but I’m still learning the gardening process. I used an organic, all-purpose fertilizer because I want an organic strawberry garden. I used two bags of 2 cubic feet organic potting soil, and this was just the right amount! My whiskey barrel was full of soil to just below the top.

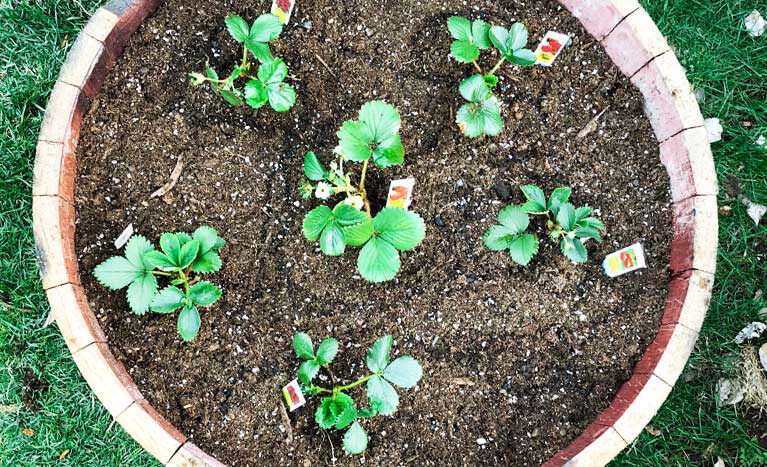
I picked my strawberry starters from a local nursery. The strawberry selection process was exciting because there are so many varieties to choose from! I ended up purchasing six plants: two of three different varieties. I’d recommend visiting your local plant nursery for plant starters if you don’t grow your plants from seed. Local nurseries will know the best varieties for your area and they can answer questions about your growing region!
There are June-bearing strawberries and ever-bearing strawberries. June-bearing strawberries yield a large harvest in June; ever-bearing strawberries yield fruit throughout the growing season. For a single harvest, select June-bearing. To spread the harvest over a few months (depending on your growing season), select ever-bearing strawberries! I went with ever-bearing strawberries, as this is my first crop. In hindsight, I should have tried a mix of June-bearing and ever-bearing to get a taste of each!

Strawberry plants LOVE sunlight, so situate your potted strawberry garden in a sunny location! I’d suggest a backyard patio or deck because those areas are typically easy to access. That’s a great place for a whiskey barrel and this DIY strawberry garden! I planted my whiskey barrel strawberry garden right by raised garden—where the sun shines the most throughout the day!
Allow me to show you how to create a simple strawberry garden! I loved crafting this easy strawberry garden, and I will share my knowledge with you!
You need:
4 cubic feet of Black Gold Natural and Organic Potting soil
6 strawberry starters
A drill gun and large drill bit
Instructions:
- Purchase your supplies. Place the whiskey barrel planter in a sunny location for your organic strawberry garden. Get out your drill gun and drill bit. Drill 11-12 evenly spaced holes in the bottom of the whiskey barrel to allow the water to drain from the soil. You will hand-water your strawberries or use drip-irrigation, so the barrel needs drainage points! Once filled with soil, it will be difficult to move, so select a permanent spot with lots of sunlight throughout the day.
- Fill the barrel to a few inches from the top, mixing fertilizer and potting soil according to the instructions on the package.
- For each strawberry starter: dig a hole just deep enough to cover the roots and place the starter in the hole. Carefully surround the starter with dirt and gently pat it down.
- Lightly water the plants and then water daily for maintenance. Do not drown them though.
- Enjoy your berries!
It’s that simple to start your own strawberry garden! If I can do it then so can you! If you do this, Tweet me photos!

