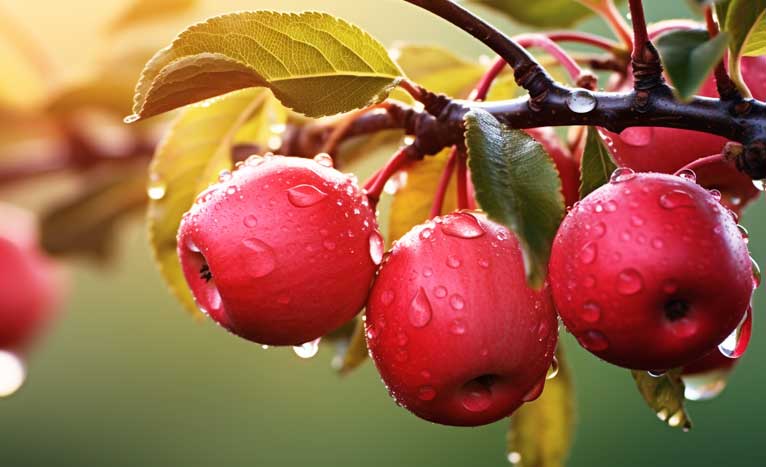
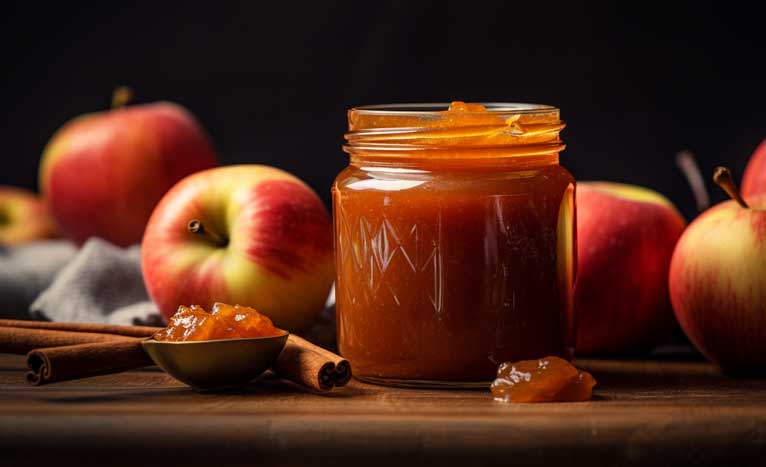
Canning apple butter is a wonderful way to preserve the rich, velvety goodness of apples with warm spices, creating a versatile spread that can be enjoyed year-round. I have been busy canning a variety of apple-themed items this fall, so I want to encourage you to can up your local or backyard abundance as well!
Fall is in the air when apples are speckling the trees. Truly, one of the only things I love about fall (I despise cold weather) is apples and the fall-feeling of warm spiced fruit, specifically apple butter. Whether you spread it on toast, use it as a topping, or incorporate it into recipes, canned apple butter adds a delightful touch of autumn to your meals. Here's how to safely can apple butter at home.

What type of apples are best for making apple butter?
A mix of sweet and tart apple varieties, such as Granny Smith and Fuji, works well for apple butter. This combination provides a balanced flavor. I personally used a mixed of Ginger Gold and Honeycrisp (these are the varieties I grow) and the apple butter turned out great! Sweet and tart varieties are generally the ones recommended for canning recipes like these, but I believe in using what you have available to you and it will still turn out amazing!
Do I need to peel the apples for apple butter?
Yes, it's recommended to peel the apples for a smoother and more velvety texture in your apple butter. Trust me, you will want this apple peeler: I processed a bath of apples once without a spin-peeler like this, and it was a pain and took a long time. Save time and your hands by using an apple peeler and corer.
How can I prevent my apple butter from turning brown during preparation?
Sprinkle the chopped apples with lemon juice as you go to prevent browning. This also adds a hint of acidity to balance the sweetness.
What is the role of lemon juice in apple butter?
Lemon juice adds acidity, which not only helps preserve the color of the apple butter but also enhances its flavor.
Can I reduce the amount of sugar in the apple butter recipe?
You can reduce the sugar, but it may affect the sweetness and preservation of the apple butter. It's essential to follow safe canning guidelines to ensure proper preservation.
Check out my Homemade Apple Butter Recipe
Why is it important to sterilize the canning jars?
Sterilizing the jars ensures that they are free from any bacteria or contaminants that could spoil the apple butter during storage. The way I do this is to heat the jars in boiling water while I am preparing the recipe and heat the lids and rings in hot water as well. I will get both pots boiling then bring down to a simmer and allow the lids and jars to simmer in hot water to sterilize them while I am peeling apples and creating whatever recipe I am canning.
What's the purpose of the water bath canner?
The water bath canner is used to create a vacuum seal on the jars, which preserves the apple butter and extends its shelf life.
How do I know if the jars have sealed properly?
After cooling, press the center of each lid. If it doesn't pop back, the jar is sealed. If it does pop, the jar did not seal correctly, and you should refrigerate and consume its contents within a few weeks.
Make sure to take the rings off of the jars and then hold the jar by just the lid with your other hand below the jar in case the lid pops off. This test is to ensure the your jars have sealed properly and the lids are on.
Can I use apple butter in recipes?
Absolutely! Apple butter can be used in a variety of recipes, including as a topping for pancakes or waffles, a glaze for meats, or a filling for pastries.
How long can canned apple butter be stored, and where should it be kept?
Properly canned apple butter can be stored in a cool, dark place for up to 1-2 years. Once opened, store it in the refrigerator and use it within a few weeks.
Ingredients:
- 5-6 pounds of apples (a mix of sweet and tart varieties)
- 2 cups granulated sugar
- 2 teaspoons ground cinnamon
- 1/2 teaspoon ground nutmeg
- 1/4 teaspoon ground cloves
- 1/4 teaspoon salt
- Lemon juice (for acidity)
Equipment:
- Large stockpot
- Canning jars with lids and bands
- Canning funnel
- Jar lifter
- Water bath canner
- Immersion blender or food processor
- Wooden spoon
- Lemon juice
- Kitchen towels and potholders
Instructions:
- Prepare the Apples:
Wash, peel, core, and chop the apples into small pieces. Sprinkle them with lemon juice to prevent browning. - Cook the Apples:
In a large stockpot, combine the chopped apples, sugar, ground cinnamon, ground nutmeg, ground cloves, and salt. Cook over medium heat, stirring frequently until the apples are soft and the mixture thickens. This may take 1-2 hours. - Blend the Mixture:
Use an immersion blender or food processor to blend the cooked apple mixture until smooth and velvety. Be careful when blending hot liquids. - Prepare the Canning Jars:
Wash the canning jars, lids, and bands with hot, soapy water, and rinse them thoroughly. Sterilize the jars by placing them in a boiling water bath for 10 minutes (adjust time for your elevation.) Keep the lids and bands in hot (not boiling) water to soften the sealing compound. - Fill the Jars:
Using a canning funnel, carefully fill the sterilized jars with the hot apple butter, leaving about 1/4-inch of headspace at the top. Remove any air bubbles by running a wooden spoon or bubble remover tool around the inside of the jar. - Wipe the Jar Rims:
Use a clean, damp kitchen towel to wipe the rims of the jars to remove any residue or apple butter. - Apply Lids and Bands:
Place the sterilized lids on the jars and screw on the bands until they are fingertip-tight. Do not over-tighten. - Process in a Water Bath Canner:
Place the filled jars into a water bath canner, ensuring they are covered with at least 1 inch of water. Bring the water to a boil and process the jars for 10-15 minutes (adjust based on your altitude). Consult your local altitude guidelines for accurate processing times. - Cool and Test Seals:
Carefully remove the jars from the canner and place them on a clean kitchen towel. Let them cool for 12-24 hours. After cooling, press the center of each lid to ensure it has sealed. If the lid pops back, the jar is not sealed and should be refrigerated and consumed within a few weeks. - Store the Canned Apple Butter:
Store the sealed, cooled jars in a cool, dark place for up to 1-2 years. Refrigerate any unsealed jars and use them within a few weeks.
Enjoy!
Canned apple butter is a delicious and versatile condiment that can be used in various recipes or enjoyed as a spread. By following proper canning procedures, you can savor the flavors of autumn throughout the year.
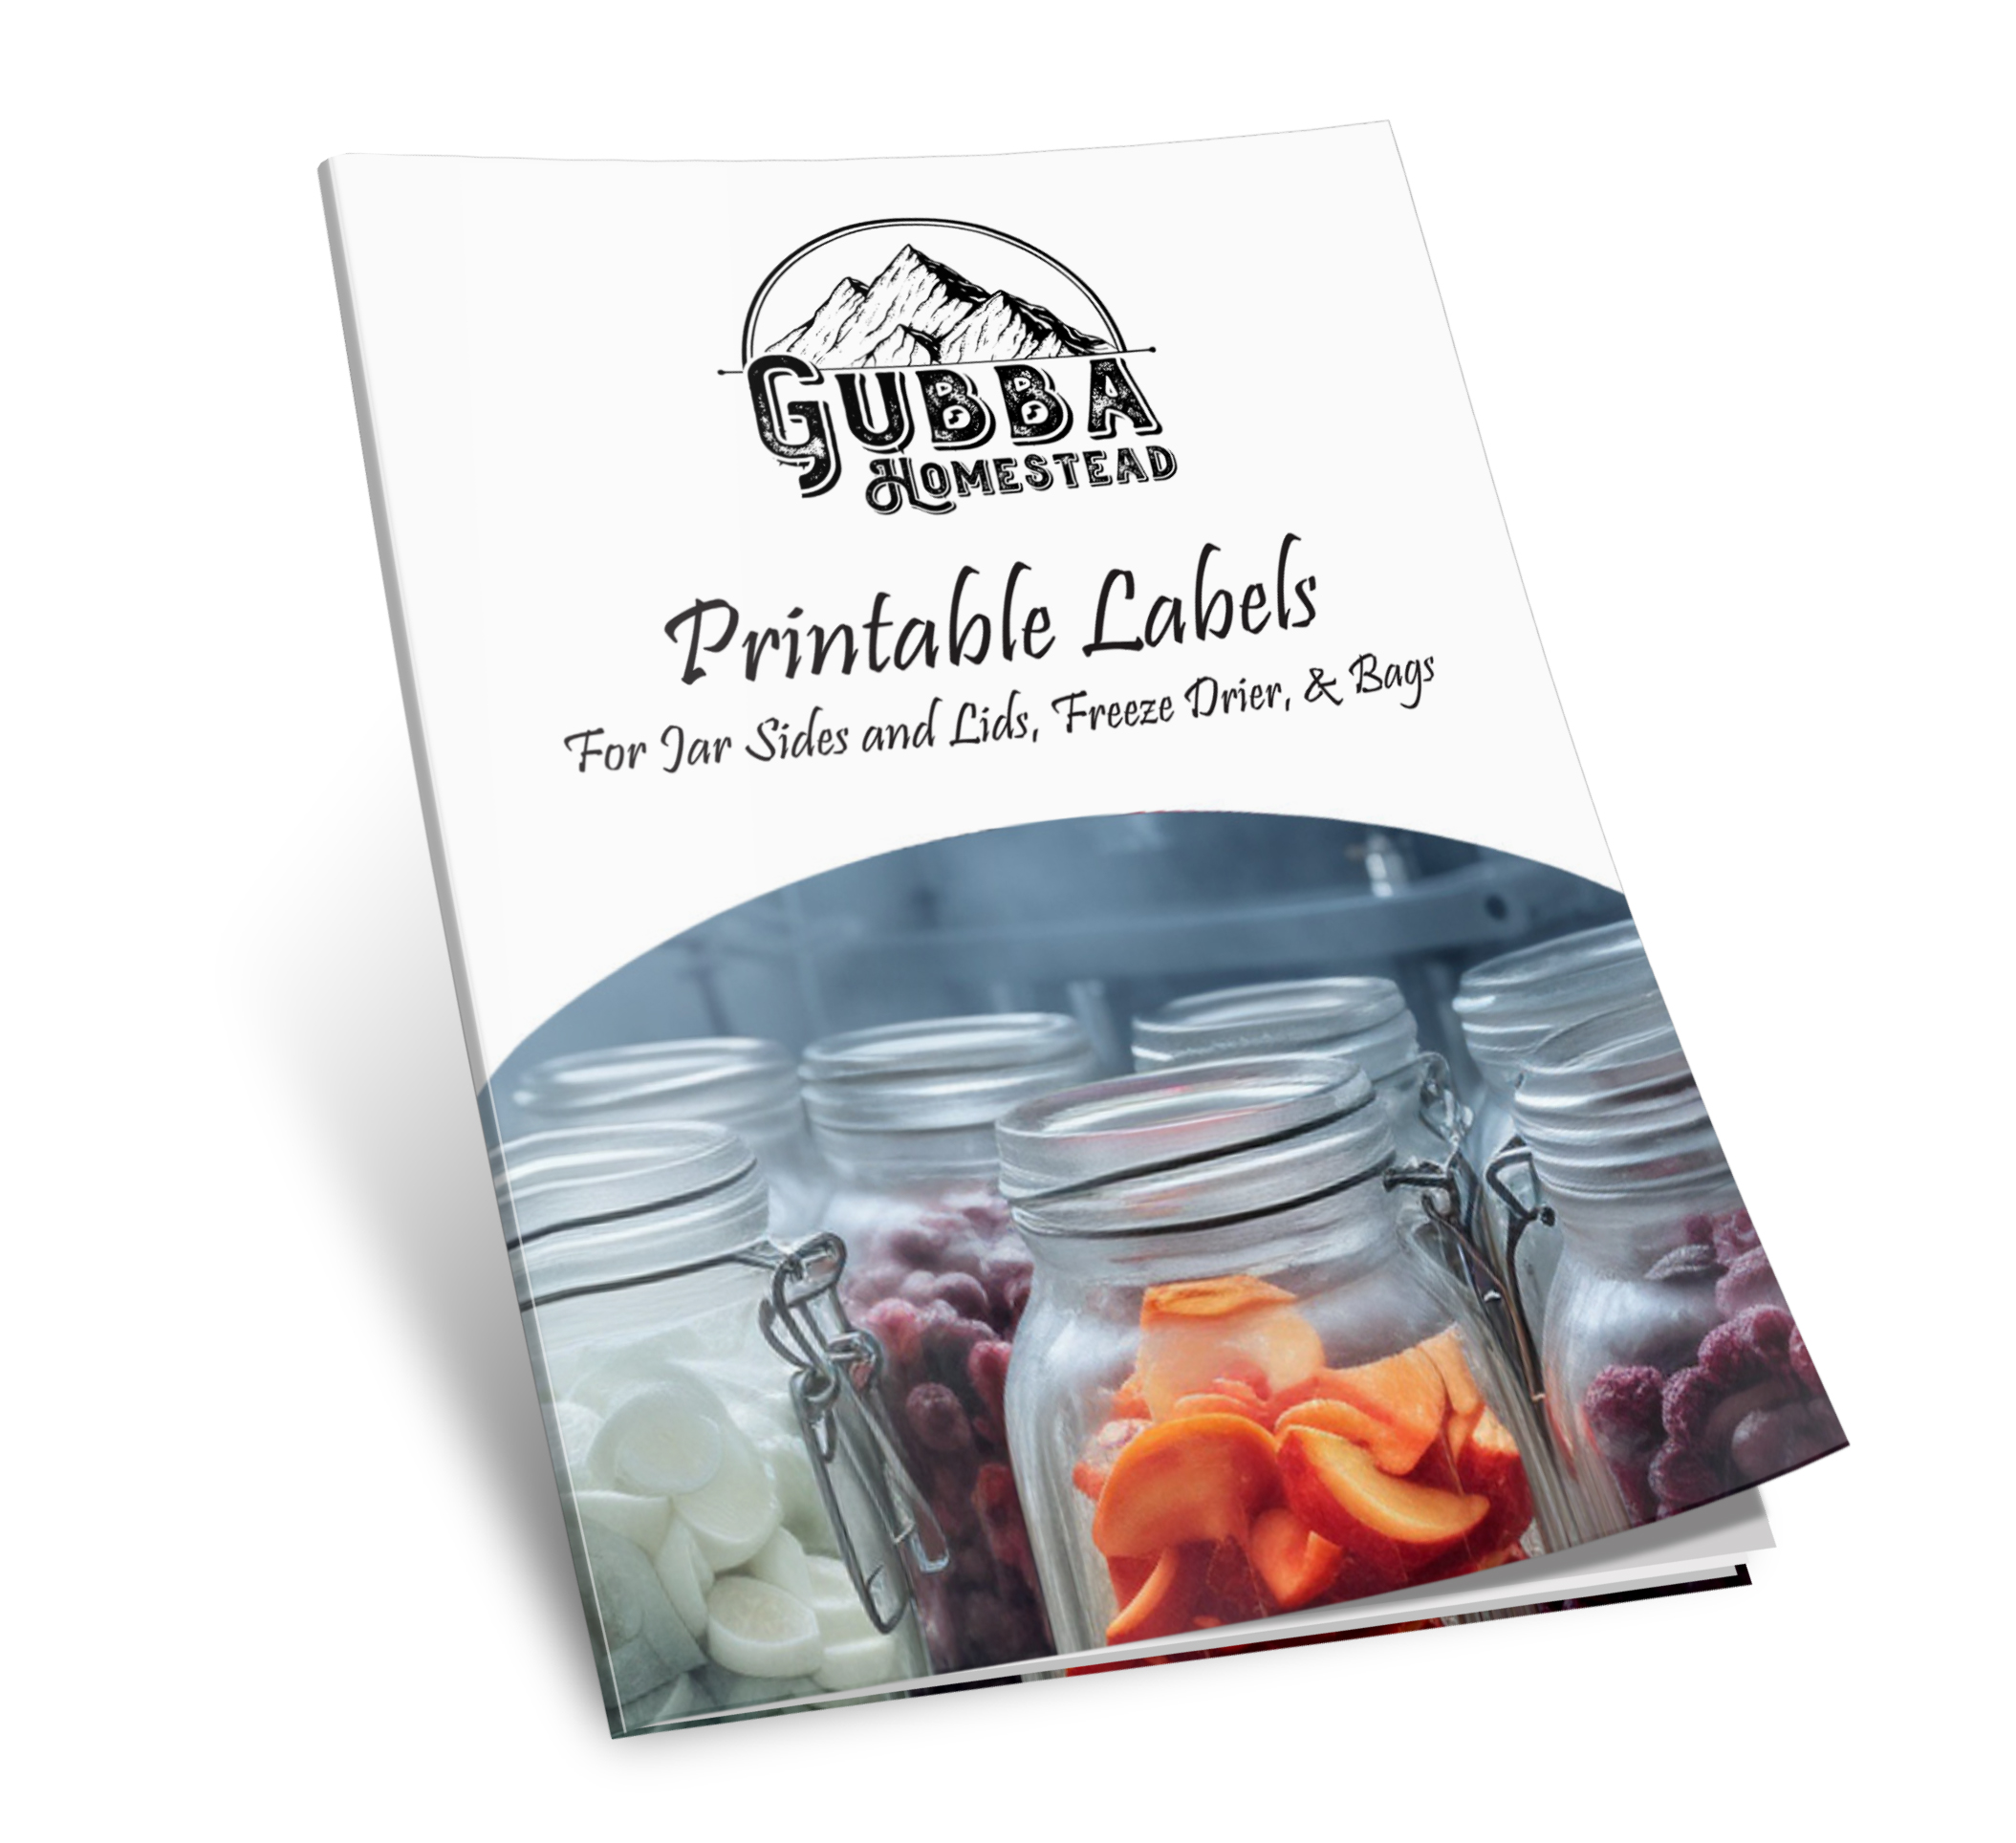
Unlock the secret to organized and beautiful canning with my Printable Labels Bundle! With my bundle, you'll have access to a wide variety of customizable labels suitable for all your canning projects. From vibrant fruit jam labels to elegant pickle jar tags, I've got you covered.
Purchase our Printable Labels Bundle today and transform your canning game!


