In the world of culinary arts and home gardening, there's nothing quite like the vibrant and aromatic flavors that fresh herbs bring to our dishes. However, the abundance of these herbs during certain seasons often leads to the need for preservation techniques. I think it is wise to learn how to preserve different foods and plants to sustain us through the different seasons. In this comprehensive blog, we'll delve into the art of drying and preserving herbs, ensuring that you can enjoy their delightful essence year-round.
Selecting the Right Herbs
Before you embark on the journey of drying and preserving herbs, it's essential to select the right ones. Choosing herbs that are at their peak in terms of flavor and aroma will ensure the best results. It is also important to preserve what you enjoy, so you don’t waste any space in your garden or money at the store. Here are some popular options:
1. Basil
Basil is a versatile herb that can be used in various dishes, including pasta sauces, salads, and pestos. Its fragrant leaves are best harvested just before it starts flowering. The lush green leaves of basil not only add a burst of flavor to your dishes but also contain essential oils that have various health benefits. These oils have antibacterial and anti-inflammatory properties, making basil not just a culinary delight but also a valuable addition to your kitchen pharmacy. I use basil for digestion. If I feel bloated, I will make a basil tea and it helps the bloating work itself out.
2. Rosemary
Known for its robust flavor, rosemary is perfect for seasoning meats and roasted vegetables. Harvest the stems with their leaves intact for the best preservation. Rosemary is also rich in antioxidants, which can help improve digestion and boost your immune system. Its distinct aroma can also uplift your mood and enhance cognitive function. So, having dried rosemary in your pantry is not just about culinary prowess but also promoting well-being. I love to sprinkle rosemary on homemade dinner rolls to add depth of flavor.
3. Thyme
Thyme's earthy and slightly minty flavor makes it a favorite in Mediterranean cuisine. Harvest the stems just before the plant blooms for optimal flavor retention. Beyond its culinary uses, thyme has medicinal properties. It contains thymol, an active compound with antifungal and antibacterial properties. Thyme tea is a traditional remedy for sore throats and respiratory issues, making dried thyme a valuable addition to your home apothecary.
4. Mint
Refreshing and aromatic, mint is excellent for teas and desserts. Harvest the leaves before the plant flowers for the best results. Mint is well-known for its digestive benefits. Peppermint, a popular variety of mint, can relieve symptoms of irritable bowel syndrome (IBS) and indigestion. Drying mint leaves ensures that you have a steady supply of this soothing herb throughout the year. It is important to know that if you plant mint in your garden, plant it in a container as it will spread like wildfire and consume your garden.
5. Lavender
Preserving lavender is a wise choice owing to its diverse benefits. This versatile herb offers a range of health advantages, including its renowned calming properties and potential to aid in better sleep. You can benefit from the subtle floral flavor it adds to dishes, creating unique infusions, syrups, or tea. One option is to create ice cubes that have lavender infused in them for a refreshing add to teas or summertime drinks like lemonade.
Additionally, lavender's herbal benefits, such as its natural antiseptic and insect-repelling properties, make it a valuable resource in your garden and home. By employing methods like drying, infusing, or freezing, one can extend the shelf life of lavender, ensuring a prolonged availability of its therapeutic, culinary, and herbal uses. Whether seeking relaxation, enhanced flavors, or natural remedies, preserved lavender proves to be a valuable addition to daily life.

The Drying Process
Now that you've selected your herbs, it's time to explore the various methods of drying and preserving them. Each method has its unique advantages and can cater to your specific needs.
1. Air Drying
Air drying is one of the simplest and most effective methods of preserving herbs.
Follow these steps:
- Step 1: Gather a bunch of herbs and remove any damaged or yellowing leaves.
- Step 2: Tie the herbs together at their stems with twine or a rubber band. Ensure that the bundles are compact but not too tight to allow for proper airflow.
- Step 3: Hang the bundles upside down in a well-ventilated, dry area, away from direct sunlight. A dimly lit room with good air circulation is ideal.
- Step 4: It may take about two weeks for the herbs to completely dry. Once they are brittle to the touch, remove the leaves from the stems.
Air drying is a gentle process that retains the herbs' flavors and essential oils. This method is perfect for basil, rosemary, thyme, and mint.
2. Oven Drying
If you need to expedite the drying process, oven drying is a viable option:
- Step 1: Preheat your oven to the lowest temperature setting (usually around 170°F or 75°C).
- Step 2: Place the herb leaves on a baking sheet in a single layer. Make sure not to overcrowd them, as this can hinder the drying process.
- Step 3: Put the baking sheet in the oven and leave the door slightly ajar to allow moisture to escape. This helps prevent the herbs from cooking.
- Step 4: Check the herbs frequently. They should be ready in 2-4 hours, depending on your oven's temperature settings.
Oven drying is a quicker alternative to air drying and is suitable for individuals with limited time. It's particularly effective for rosemary and thyme, which have woody stems and can handle slightly higher temperatures.
3. Dehydrator Method
For those who have a food dehydrator, this method provides precise control over temperature and airflow:
- Step 1: Set your dehydrator to the recommended temperature for herbs (usually around 95°F or 35°C).
- Step 2: Arrange the herb leaves in a single layer on the dehydrator trays. Make sure they are not overlapping to ensure even drying.
- Step 3: Leave them to dry for 1-4 hours, checking for crispness. The duration may vary depending on the moisture content of the herbs and your specific dehydrator model.
Using a food dehydrator is a convenient option for preserving herbs as it offers consistent results and requires minimal monitoring. It is suitable for all herb types mentioned.
Storing Your Dried Herbs
Preserving the dried herbs properly is crucial to maintain their freshness and flavor. Follow these steps:
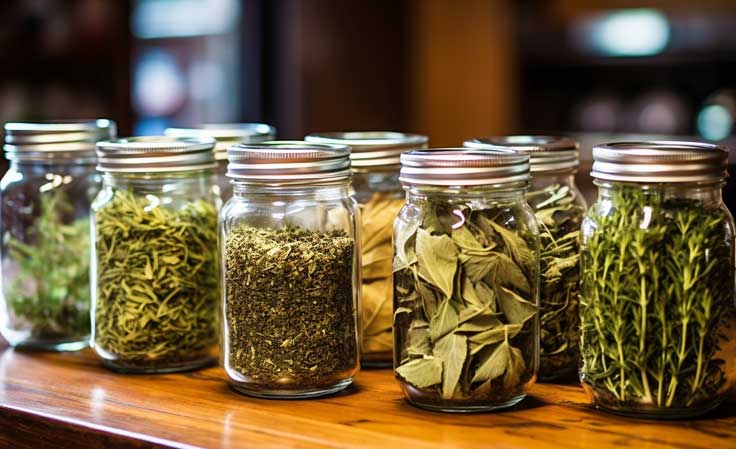
- Step 1: Crush or crumble the dried herbs into airtight containers, such as glass jars. This not only helps in efficient storage but also releases the herbs' aroma and flavor when you open the container.
- Step 2: Label the containers with the herb type and date of preservation. Proper labeling ensures that you can easily identify your herbs and maintain a rotation system to use the older ones first.
- Step 3: Store the containers in a cool, dark place away from direct sunlight and moisture. The pantry or a spice cabinet is an ideal location.
Storing your dried herbs in airtight containers protects them from moisture and light, which can degrade their quality over time. When stored correctly, dried herbs can maintain their flavor for up to one year or even longer.
Tips for Using Dried Herbs
Using dried herbs is slightly different from fresh ones, but they can still elevate your culinary creations:
- Tip 1: Remember that dried herbs are more potent than fresh ones. Use them sparingly to avoid overpowering your dishes. A general rule of thumb is to use one-third to one-half the amount of dried herbs compared to fresh ones.
- Tip 2: Crush or rub the dried herbs between your fingers before adding them to your recipes. This helps release their flavor and aroma, ensuring they blend seamlessly into your dishes.
- Tip 3: Add dried herbs to simmering sauces and stews early in the cooking process to allow their flavors to meld. This imparts a rich and well-rounded taste to your dishes.
Get out and dry some herbs!
You now possess the knowledge and techniques required to successfully dry and preserve herbs. Whether you're an aspiring chef or a gardening enthusiast, the ability to savor the essence of your favorite herbs year-round is just a few steps away. So, roll up your sleeves, gather those herbs, and embark on your journey to culinary excellence! Drying and preserving herbs is not just a culinary skill; it's a way to connect with nature, enhance your dishes, and promote well-being. So, make the most of it, and let the aromatic journey begin. Happy herb preservation!