It is spring, so you know what that means? Seed-starting time! I’m excited to cultivate a self-sufficient garden this year. This blog will be all about seed-starting and hopefully answering some questions you may have about how to start seeds indoors. To create a garden plan for yourself and your family, check out my garden downloadable bundle.
With easy-to-use pages, you can plan out your garden to make sure you have a variety of crops that will provide you with a well-rounded diet and help you build your food storage. You can also track your harvests and learn from each season to optimize your yields.
Say goodbye to the frustration of seedlings dying and wondering which seeds to start or when to start them indoors. With this blog, you'll have all the information you need to start your seeds with confidence, including whether you need a grow light or not and if you need a heat mat to germinate your seeds. With my garden planner, you will be able to plan a garden that will feed your family.
When done correctly, seed starting can significantly increase your crop yield and growing season. However, not all seeds are suitable for indoor starting, and there are common mistakes that can be avoided with proper knowledge. That's where I come in. As an expert in seed starting, my goal is to help you harvest an abundance of food this year. I’ve experienced many trials in seed-starting from dampening off to seeds not germinating at all, so I have been there!
Seed starting vs direct-sowing
Starting seeds indoors involves germinating your seeds in a controlled environment inside, and then transplanting the young plants into your garden. On the other hand, direct sowing seeds involves planting the seeds directly into the soil outside, where they will grow and mature without being transplanted.
Another option is to get starts from a nursery near you that has plants for your local area and transplant them into your garden. This can be a back-up method if your seed-starts fail.
Why should you seed-start?
Starting seeds indoors offers a wider variety of options compared to purchasing plant starts from a nursery. When buying starts from a nursery, you're limited to the varieties they offer, but starting from seed provides access to a much larger selection. Additionally, starting seeds indoors allows for a controlled environment for your seedlings, which can benefit less hardy plants that may struggle in outdoor conditions.
Which seeds should you start inside?
As a general rule of thumb, root vegetables fare better when they are direct sown outside or fruits that don’t like to have their root systems disturbed like watermelon.
Cool-weather crops like lettuce, spinach, and brassicas are generally hardy enough to withstand cooler soil temperatures, making it unnecessary to start them indoors.
In contrast, warm-weather crops like peppers, tomatoes, cucumbers, melons, and certain squash varieties tend to thrive when started indoors.
The choice of which seeds to start indoors will depend on your location and the length of your growing season. Those with an extended growing period may be able to direct sow all of their plants, while those in cooler climates may need to start some plants indoors to ensure a successful harvest.
This is where the information on the back of the seed packet come in handy.
Garden seed packet information
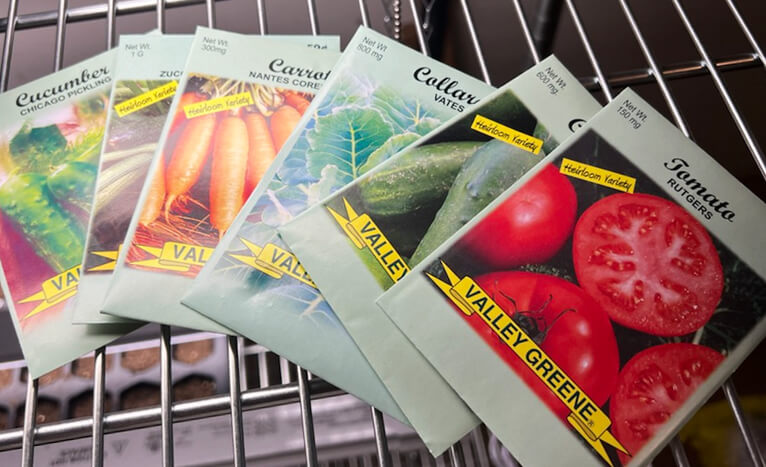
The back of a seed packet typically contains important information about the seeds inside, such as the name of the plant species or variety, the recommended planting depth and spacing, the ideal soil and sunlight requirements, and the expected time frame for germination and maturity. It may also include additional tips for successful planting, such as the best time of year to sow the seeds and any special considerations or precautions to take when caring for the plants. Finally, many seed packets will also include a batch or lot number that can be used to trace the seeds back to their origin in case of any issues or questions.
When do you start seeds indoors?
Timing is crucial when it comes to starting your seeds. It will vary from area to area starting date primarily depends on the last frost in the Spring and the first frost in the fall. Make sure you know these dates. A great way to discover these dates is to call local plant nurseries and ask.
Once you determine your first frost date, you can work backward based on the number of weeks required to start those plants indoors. The back of the seed packet can give you a reference in your planning process.
What soil do you use for seed starting?
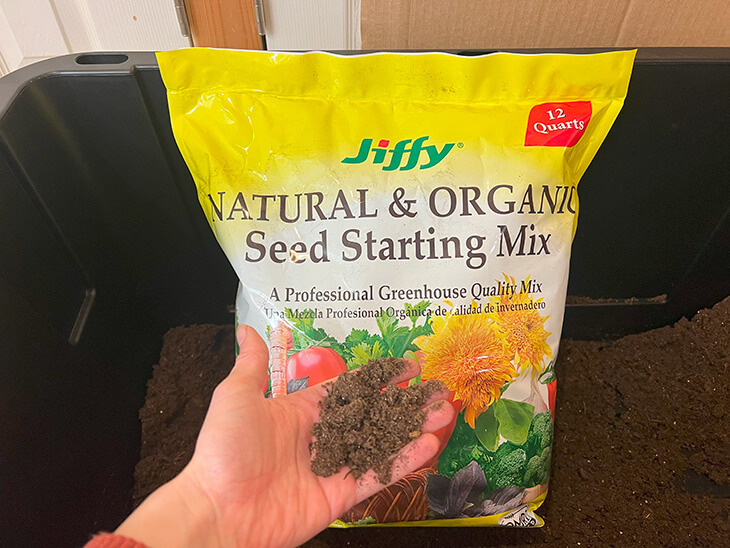
When it comes to seed starting, it's important to use a high-quality seed starting mix or soil. These are typically lighter and more finely textured than regular garden soil, which allows for better seedling germination and growth.

Seed starting mixes usually contain a blend of peat moss, vermiculite, perlite, and sometimes coconut coir, which provide a sterile environment that helps prevent diseases and pests. Additionally, seed starting mixes are designed to retain moisture while also allowing for good drainage, which is crucial for healthy seedling growth.
It's important to note that regular garden soil is not recommended for seed starting because it can be too heavy and compact, making it difficult for seeds to germinate and seedlings to grow properly.
Young plants are delicate and vulnerable and are more prone to disease and infection. Using garden soil directly for seed starting can introduce various harmful microorganisms like bacteria, fungus, and diseases to the baby plants.
This can cause issues like dampening off, a type of seedling blight that is one of the major causes of seedling death. In addition, garden soil can also contain insects and their eggs, which can be detrimental to the growth of young seedlings and can even infest your living area if you're seed starting indoors. Best bet is to use a seed-starting or potting soil of your choice.
What are free seed starting containers?
Egg cartons for starting seeds are a great idea because they're free and eco-friendly. However, they require more frequent watering due to their porosity and won't hold the seedling for long before needing to be transplanted.
Plastic clamshells and lettuce containers are also great options as they create a natural greenhouse effect when the lid is closed. Lettuce containers are deep enough to hold the seedlings for a while, especially lettuce, which saves the trouble of replanting. I love repurposing these containers instead of throwing them away.
Another option is milk cartons, which have a handle for easy moving and are deep enough to hold the seedlings for a longer period of time.
You can also purchase pots and seed-starting containers from amazon. Regardless of whether you opt to repurpose an egg carton or purchase seed starting pods, make sure there is a way to cover the container until germination is complete.
If you don’t want to use containers at all you can get a soil blocker to plant seeds in. It creates tubes of dirt from moist soil. These are beneficial because the seedling will have more room to expand and won’t become root bound like it would once it touches the sides of plastic containers.
Is a seed warming mat necessary?
In my experience, seed starting warming mats are not necessary for successful seed germination. However, if the temperature of your house or seed-starting area is on the cooler side, a warming mat may be beneficial. Each type of seed has its own temperature requirement for germination, which you can find on the seed packet. For warm-weather crops, the soil must be at least 60 degrees Fahrenheit or warmer for germination to occur.
It's important to ensure that the temperature doesn't dip below 50 degrees Fahrenheit after the seeds have sprouted, so if your seedlings are placed near a windowsill, they should be moved away from the window at night to avoid getting too cold.
How do you properly water seedlings?
Properly watering seedlings is essential for their healthy growth. When watering seedlings, it's best to use a watering can or a spray bottle with a fine mist nozzle. This will prevent the soil from becoming compacted and will avoid damaging the delicate seedlings. When germinating, you want the soil to be consistently moist but not water-logged. Dry soil while germinating means death.
Once the seeds have sprouted, to avoid disturbing the seedlings, it's best to water from the bottom. Place the seed tray or container in a larger tray or dish filled with water, and let the soil soak up the water from the bottom. It is best to allow the top of the soil to dry out between watering for seeds that have sprouted.
Avoid using cold water straight from the tap, as it can shock the delicate seedlings. Instead, use room temperature water.
What lights do you use for seed-starting? Do I need lights for seed-starting?
During the germination process, plants do not require sunlight, so you do not need to place them on a sunny windowsill or use grow lights for the first few weeks. However, after germination, they will need light.
If you live in a sunny environment, a sunny windowsill should suffice for your seedlings. They will grow better in a sunny windowsill than with artificial light. If you do not live in a sunny area, you will need to use grow lights for consistent lighting.
If using grow lights, it is important to use full-spectrum lightbulbs and leave the lights on for 16 to 18 hours every day. The grow light should be placed within 2-3 inches above the plant to prevent leggy and tall plants, which occur when plants stretch to reach the light source. Adjust the lights as the seedlings grow.
I hope this seed-starting guide gave you a good look into the process and how easy it is to start seeds indoors! Get your garden started according to your gardening zone and enjoy the harvest!

